The configuration of the simulator client is usually done only once, right after the installation. It is important to understand the difference between the configuration options shown here and those in the XRNAUT SchoolPortal. The configuration here, serves exclusively to ensure the function of the simulator software. (All content and organizational settings are made conveniently in the browser via the XRNAUT SchoolPortal).
Configuration settings
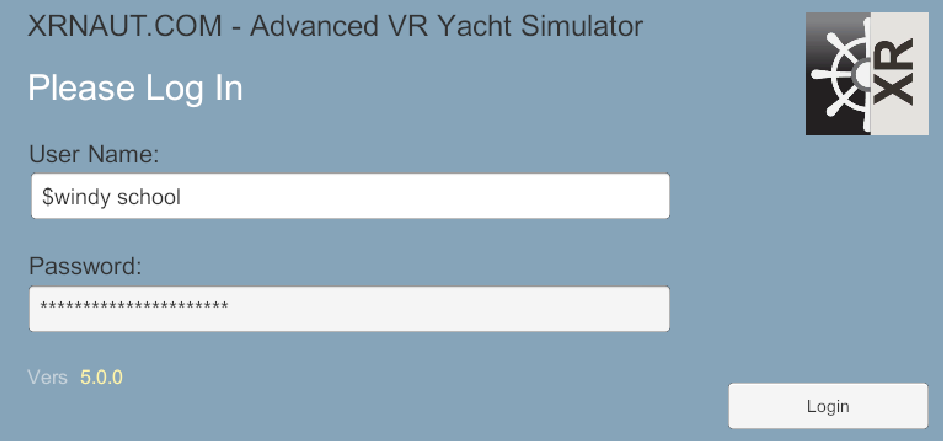
If the simulator is not pre-configured, the configuration page will open automatically on first startup. After the initial configuration, the configuration page can be accessed using a special login name.
The configuration page contains the following elements:
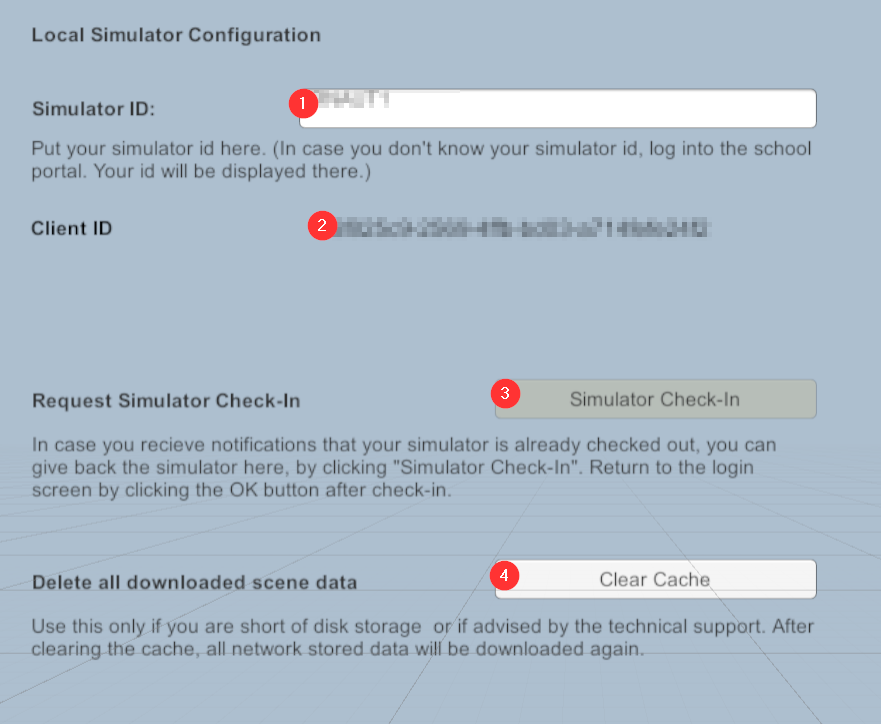
Simulator ID
For the initial configuration, the simulator ID 1 must be entered. You can find this at your SchoolPortal dashboard and in the documents you received for your system. Please treat the simulator ID confidentially! It works as an additional security element to your password.
The ID is a rather long token, we suggest to copy & paste it from you SchoolPortal dashboard page.
Client ID
The Client ID (2) identifies your software and is generated automatically. If you ever want to pass on the Client ID (e.g. in exchange with customer support), you can copy it by clicking on the ID with the mouse and using the key combination Ctrl+C.
Simulator Check-In
The button 3 (Simulator Check-in) is useful if you get the following message when logging in:Simulator license checkout failed - is it already in use?
In this case click this button 3 to unlock the simulator. Then log in again.
Background for this message: This message occurs because multiple identical simulators are not allowed to access the same server resources at the same time. To ensure that this does not happen, the simulator logs in and out of the server. The login is called check-out (because the simulator 'reserves' the resources in the server). The logout is called check-in (because the simulator returns the resources to the server). It can happen in rare cases that check-in fails or while a simulator has reserved resources, the server has to be restarted. In this case, it may happen that the resources cannot be released in the server. If this is the case during check-in, the simulator will bring this error message. Using button 3, the resources can then be explicitly released and the simulator will start normally the next time you log in.
Clear Cache
Button 4 should really only be used on the advice of support. This button clears all locally cached data. After clearing, they will download again from the internet in the latest version. This may result in a larger download and delayed startup time.